
There are multiple ways to view a report: print to a printer or fax machine, preview on a computer screen, e-mail, or save to a file. Review this section for details on the specific options. Select the appropriate report by highlighting the report and clicking the Print button.
The options on the print dialogue will vary depending which report is selected. The following options are based on the sample dialog shown above.
Highlight a folder to print inventory from a specific folder. The Include subfolders option must be turned ON to include inventory within the subfolders. The remaining options will be based on the folder that is selected. If all inventory items are to be selected, click on the root Inventory folder and check the Include Subfolders switch. (Note: This will NOT include items marked Inactive. The only way to print inactive items is to select Include Inactive)
Select All Inventory Items or a Range of inventory items. Keep in mind that if a sub folder, for example the Garden Supplies folder, is selected, and All Inventory Items is turned on, only the items in the Garden Supplies folder will print.
The following options are standard with any EBMS report:
Choose Printer options. The Windows Default Printer will be listed as the default printer. Select the Specific Printer option if an alternative printer is preferred. Install the printer driver within Windows by selecting Settings from the Start menu if the printer is not listed as an available printer. Reports can be printed on a fax machine by selecting the fax driver from the Specific Printer options list. See your computer dealer or network administrator if you do not have a fax option.
If you are ready to print the report, select the Print button.
Select Print Preview
to view the report on the screen.
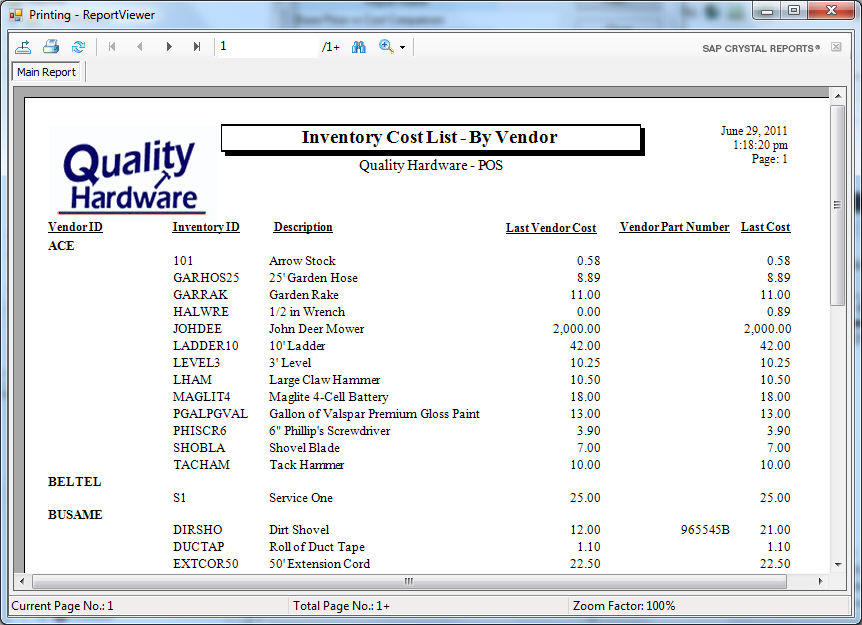
There are several options and features that are launched from the preview window. They are as follows:
The arrows located at the top left of the page are to scroll through the report.
The left arrow with a line in front of it will go to the beginning of the report.
The left arrow will page up one at a time.
The right arrow will page down one at a time.
The right arrow with a line after it will go to the end of the report.
 Click on the printer icon to print the report from the preview window.
 Click on the small export icon
to send report via e-mail or export it to a file. Review the Exporting Data section for more
information.
Click on the small export icon
to send report via e-mail or export it to a file. Review the Exporting Data section for more
information.
 Select the binoculars to search
for specific information contained within the report.
Select the binoculars to search
for specific information contained within the report.
 The
preview image can be minimized
or maximized. 100% is the normal selection, which displays the report
at actual size. Select another percentage by clicking on the arrow beside
the icon and selecting the appropriate percentage. To continue, close
the previous window.
The
preview image can be minimized
or maximized. 100% is the normal selection, which displays the report
at actual size. Select another percentage by clicking on the arrow beside
the icon and selecting the appropriate percentage. To continue, close
the previous window.
The Printer Setup button will open the properties for the selected printer. Make any changes as needed. The Orientation will default according to the report design but can be modified by the user. Note that changing this option does not change the layout of the report, only whether the page will be printed in landscape or portrait layout. For example, if the report is designed for portrait layout and the user then sets the layout to landscape, the report will still only print the width of the portrait layout.
The Page Setup button will open properties for the page paper and margins.
Review Setting Report Security for security settings to restrict access to a report or to restrict the user's ability to change prompts.
Turn the Collate option ON to collate a multiple page report.
Enter the desired number of Copies to print.
Click on Set Query to define a query for the report. This powerful feature can be used to set user defined queries. For example, the user may want to print only invoices with a specific ship date or other criteria not listed within the Report Options. Review the Features > Advanced Query Options section for details on configuring a query for your report. Click on the Save as Default button at the bottom of the print dialog to save the query for future printings. Note that the query can be saved but not used by clicking the Use Query setting OFF.
To save these values for future printing, click on Save
as Default before printing the report. The configuration will be
saved within the report and will default the next time the report is opened.

The following defaults can be set for a single user and single device or single user on multiple devices.
Prompts: Review Prompt settings earlier in this section
Printer Name, Margins, Orientation, Copies, Collate, Paper Size, and Paper Source: Set the printer driver to configure the printer settings
Query: Review the previous section for Report Query settings.
Data Source: Review Enhancing report speed using SQL for an alternative Data Source.
Printer Specific Settings: Enabling this option may only affect specific printers.
The default setting of Only for this user and Only for this computer will not affect the defaults on the other computer profiles or other users. Select the For all users option to set defaults for everyone on the current Windows device.
Multiple users and multiple devices can be set if the user as manager security settings within the user management settings. Review the manager settings within Security > Creating Users and Assigning Rights at the program level.
Review Report and Form Customization for additional default report options.
Click on the Restore Defaults button to restore all defaults on this report to the original settings at the time EBMS was installed.